
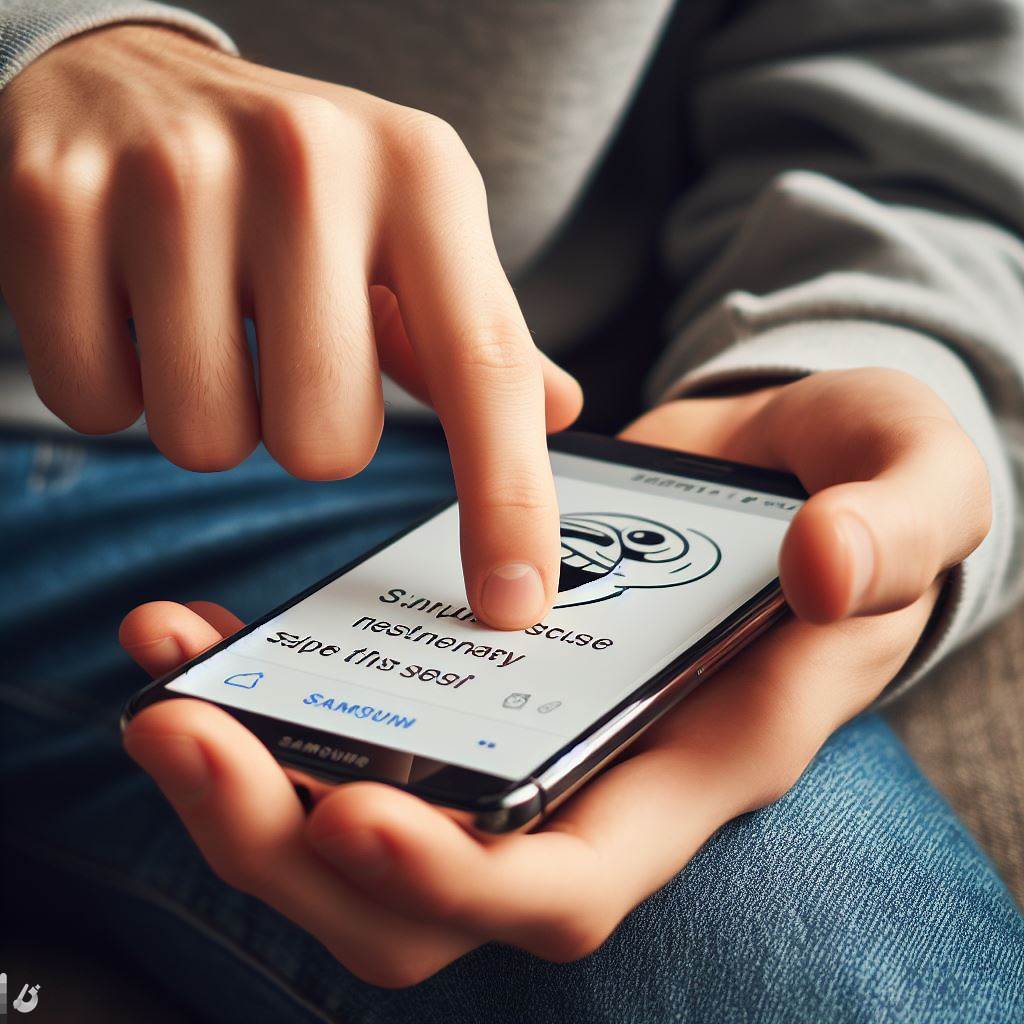
5 Easy Ways To Take Screenshots on Samsung Devices
Taking screenshots on your Samsung device allows you to capture and save contents displayed on your screen. This could be an important photo, directions, a high score in a game, or even a funny text conversation. Screenshots come in handy for many situations.
The good news is that Samsung Galaxy devices have multiple built-in options to take screenshots with just a couple taps or by using convenient voice commands. In this comprehensive guide, we will cover the 5 main methods to easily take screenshots on your Samsung phone or tablet.
Method 1: Using Power and Volume Down Buttons
The quickest and most common way to take a screenshot on Samsung devices is by pressing the Power and Volume Down buttons at the same time.
Follow these simple steps:
- Press and hold the Power button on the right side of your Samsung device.
- While still holding the Power button, also press and hold the Volume Down button on the left side.
- After 1-2 seconds, your screen will briefly flash. This indicates the screenshot has been captured.
- Release both buttons. Your Samsung device will have automatically saved the screenshot image to the Gallery app.
This method works on all Samsung Galaxy devices including phones, tablets, and more. It’s reliable and straightforward. The only catch is you need to press two buttons simultaneously which takes a little bit of coordination.
Tips for Using the Power and Volume Down Buttons
Here are some tips to take better quality screenshots using the Power and Volume Down button method:
- Press the buttons firmly. Lightly tapping the buttons may not register the screenshot. Press and hold the buttons with some force for best results.
- Hold the buttons down for 1-2 seconds. Don’t release too quickly or the screenshot won’t have time to save. Keep holding both buttons down briefly after the screen flashes.
- Clean your screen first. Smudges, fingerprints, or dirt on your Samsung screen can show up in screenshots. Give your screen a quick wipe down before capturing the image.
- Check your volume level. Having your phone’s ringer volume too loud can make the volume down button press unintentionally decrease volume. Make sure volume is adjusted to a moderate level before taking a screenshot.
- Use a button combination you’re comfortable with. Some people find reaching the Volume Down + Power buttons awkward. Try the Power + Home button method if you prefer that combo.
- Practice the timing. Getting the simultaneous button press right can take practice. Try taking multiple test screenshots to get your timing down.
With some experimentation, you’ll get the hang of capturing screenshots using the reliable power and volume down button method.
Where Screenshots are Saved
All screenshots taken using any method on Samsung devices get saved to the Gallery app automatically. The Gallery app icon looks like a box with a flower on it and is located on your home screen.
You can also find screenshots in the Photos app which collects images from both your camera and screenshots.
From the Gallery or Photos app, you can easily share screenshots via messaging apps, social media, email, and more. You can also edit them by cropping, adding text, drawings, and more.
Here are some additional details on where to find and manage your saved screenshots on Samsung devices:
- Gallery App – This is the default location for viewing and sharing screenshots. Launch the app and look for the “Screenshots” album.
- Photos App – Screenshots taken on your Samsung device will also show up in the Photos app alongside your camera photos. Useful for finding screenshots easily.
- File Manager – Navigate to Internal Storage > DCIM > Screenshots to find screenshot files saved on your device’s storage.
- Google Photos – If you have auto-backup enabled, screenshots will also upload to the cloud on Google Photos for remote access.
- Share Via Apps – Once you open a screenshot in Gallery or Photos, you can share via apps like Messages, Instagram, Facebook, Twitter, email, and more.
- Edit Screenshots – Use built-in editing tools to crop, rotate, add text, stickers, and more customizations to your screenshots.
- Organize into Albums – You can create custom albums in the Gallery app and add screenshots for easy access later. Helpful for organizing screen grabs from different apps or projects.
- Delete Screenshots – If your screenshot images are taking up too much space, delete old ones you no longer need from the Gallery.
Knowing where screenshots are saved on your Samsung device lets you easily access, share, and manage these images.
Method 2: Using Google Assistant
If pressing two buttons is too much work, you can take Samsung screenshots completely hands-free by using Google Assistant voice commands.
Google Assistant is the virtual assistant built into Android devices like Samsung’s Galaxy series. Here is how to use it:
First enable “Use screen context” in Google Assistant Settings:
- Open the Google Assistant app
- Go to Settings > Assistant tab > Assistant tab > Scroll down to “Use screen context”
- Toggle the switch on
Now you can say “Hey Google, take a screenshot” at any time and Google Assistant will snap and save a screenshot for you. Super convenient when your hands are full!
Setting Up Google Assistant
If you haven’t already enabled and configured Google Assistant on your Samsung device, follow these steps:
Enable Google Assistant
- Open Settings
- Select Apps or Application Manager
- Tap the “More Options” menu
- Choose Default Apps > Digital Assistant App
- Select Google to enable it as your default assistant
Complete Assistant Setup
- Launch the Google Assistant app
- Accept any permissions prompts
- Sign in with your Google account
- Follow the on-screen setup prompts
- Teach Assistant to recognize your voice
Enable Screen Context
- In Assistant, go to Settings > Assistant tab
- Scroll down and turn on “Use screen context”
Once fully set up, Google Assistant will be ready to take voice commanded screenshots!
Google Assistant Screenshot Commands
Along with the basic “Hey Google, take a screenshot” command, here are some other handy voice commands you can try:
- “Take a screenshot” – Captures a standard screenshot.
- “Take a full page screenshot” – Takes a tall scrolling screenshot of a full web page or document.
- “Capture this” – Quickly screenshot what’s currently on the screen without saying “screenshot”.
- “Share that screenshot with [name]” – Automatically shares the latest screenshot via messaging apps.
- “Show me my screenshots” – Displays your screenshot gallery.
- “Delete that screenshot” – Removes your most recent screenshot.
- “Take a screenshot in 10 seconds” – Gives you time to prep the screen before the screenshot.
Get creative with your phrasing to control your Samsung screenshots with Google Assistant!
Method 3: Using Bixby Voice Assistant
Along with Google’s assistant, Samsung devices also come with Bixby – Samsung’s own virtual assistant technology.
If you haven’t set up Bixby yet, you can enable it in Settings and follow the prompts to get it ready for voice commands.

Once set up, you can say:
“Hi Bixby, take a screenshot”
And Bixby will take and save a screenshot for you just like Google Assistant. Choose whichever virtual assistant you prefer!
Setting Up Bixby on Samsung Devices
To get started with Bixby, first make sure it is enabled:
- Go to Settings > Apps
- Tap the “More Options” menu
- Select Default Apps > Digital Assistant App
- Choose Bixby
If this is your first time using Bixby, you will be walked through some setup steps:
- Grant the required permissions
- Sign in to your Samsung account
- Verify your voice for voice recognition
- Customize Bixby’s chat responses to your liking
Once signed in, you can start using Bixby by saying “Hi Bixby” or pressing and holding the side button on newer Samsung devices.
Using Bixby Screenshot Commands
Bixby responds to many of the same screenshot voice commands as Google Assistant. Try these common examples:
- “Hi Bixby, take a screenshot”
- “Bixby, capture this screen”
- “Take a full page screenshot”
- “Capture a screenshot in 10 seconds”
- “Show me all my screenshots”
You can also control Bixby via on-screen commands by tapping the Bixby icon and typing a request.
Since Bixby is designed by Samsung, it offers deep integration and control over Galaxy device features. Give Bixby a try for taking screenshots completely hands-free.
Method 4: Using Palm Swipe Gesture
If pressing buttons or using voice commands isn’t for you, Samsung has one more trick up its sleeve for easy screenshots.
You can take screenshots by simply swiping your hand across the screen from right to left. Here is how to enable this Palm Swipe gesture:
- Go to Settings > Advanced features > Motions and gestures > Palm swipe to capture
- Toggle on this feature
Now you can place your hand on one side of the screen, and swipe your palm across the screen from right to left to take a screenshot. The image will save automatically just like the other methods.
This works best if you swipe quickly in one smooth motion. It may take a few tries to get the gesture just right. Make sure to swipe with the edge of your hand instead of the palm.
Tips for Using the Palm Swipe Gesture
Mastering the palm swipe gesture for screenshots takes a bit of practice. Use these tips:
- Swipe quickly in one fluid motion from right to left across the screen.
- Use the edge of your hand, not the palm itself, to swipe.
- Start the swipe on the right side of the screen near the edge.
- Swipe all the way to the left side in one quick movement.
- Apply a bit of force – a light swipe may not register.
- If it doesn’t work, adjust the angle of your hand and retry.
- Make sure “Palm swipe to capture” is enabled in the phone’s settings.
- Keep your hand steady before swiping. Shaky hands can prevent detection.
- Swipe down on the screen after to cancel an accidental screenshot.
When done correctly in one smooth, brisk motion, the palm swipe gesture provides a quick screenshot option without pressing any buttons.
Other Screenshot Methods
Beyond the main options we covered already, there are a couple other ways to take screenshots on Samsung devices:
- Side key + Volume down: Press and hold the side key and volume down buttons simultaneously.
- Power + Home button: Press and hold the Power button and Home button at the same time.
These are a bit more awkward to press, but work equally well to capture screenshots if you prefer using physical buttons.
Taking Screenshots with Side Key + Volume Down
Newer Samsung phones have a dedicated side key rather than a power button. Here is how you can use it to take screenshots:
- Press and hold the side key located on the right side of your Samsung phone.
- While continuing to hold the side key, also press the Volume Down key on the left side.
- Hold both buttons down for 1-2 seconds until your screen flashes.
- Then release both keys once the screenshot has been captured.
This method may feel more natural for some, especially those with smaller hands who can’t easily reach both the traditional power and volume keys at the same time.
Using the Power + Home Button Method
On Samsung tablets or phones with physical home buttons, you can take screenshots by:
- Pressing and holding the Power Lock button on the side of the device.
- While holding the Power button, press and hold the circular Home button below the screen.
- Keep both buttons held down for 1 second until the screen captures the image.
- Let go of both buttons once the screenshot has been taken.
Since the Home button is only found on older Samsung models, this method works best for tablets or older devices without dedicated side keys. Give it a try if you need an alternative to the standard volume + power buttons.
Advanced Screenshot Features
Samsung devices include a few special features to capture even more customizable screenshots. Here are some advanced tricks:
Scrolling Screenshots to Capture Whole Pages
Sometimes a regular screenshot can’t capture enough content, like a long web page or document. Samsung’s scrolling screenshot feature can take a screenshot of an entire lengthy page from top to bottom.
To use it:
- Start taking a screenshot with your preferred method (volume down + power button, palm swipe, etc.)
- After the screen flashes initially, continue scrolling down the page to capture more content.
- When you reach the bottom, tap the “Done” button to save the entire screenshot.
This creates one tall stitched-together screenshot of the full page that you can scroll through in your Gallery app.
Screen Recording to Create GIFs
In addition to static screenshot images, Samsung also allows screen recording. This records a video of your screen activity that can be saved as a GIF file.
To screen record:
- Open the notification panel by swiping down from the top of the screen.
- You’ll see a screen recorder icon. Tap this to start recording your screen.
- Do whatever activity you want to record on the device. Tap the stop button when finished.
- This will save a video file to your Gallery. You can convert this to an animated GIF to easily share online.
Screen recording is perfect for creating quick tutorials, demonstrating bugs, capturing gameplay video, and more.
Drawing on Your Screenshots
Once you take a screenshot, you can edit it and doodle additions using the built-in Samsung Screen Write tool:
- After taking a screenshot, tap on the preview thumbnail that pops up in the bottom left corner.
- This will open editing tools. Select the pen icon.
- You can now draw, add text, and annotate directly on the screenshot.
- When finished, tap “Save” to overwrite the original screenshot with your annotations.
This provides an easy way to highlight important parts of a screenshot, cover up sensitive data, or add your own commentary to a screen grab.
Sharing Your Screenshots
Once you have a screenshot captured on your Samsung device, you will likely want to send or share the image in many cases:
- Messaging Apps – Open the screenshot in Gallery and select Share. Choose an app like Messages, WhatsApp or Facebook Messenger to send directly to a contact.
- Email – Email your screenshots as attachments. Open screenshot, choose Share, then select your email app.
- Social Media – Post your screenshots to Instagram, Facebook, Twitter, etc. using the sharing options.
- Cloud Storage – Upload screenshots to cloud services like Google Drive or Dropbox to access them anywhere.
- Note Taking Apps – Save screenshots in apps like Samsung Notes, Evernote, OneNote, etc. for reference.
- Documents/Presentations – Insert screenshots to enhance reports, documents, or presentations on your device.
- Tech Support – Share device screenshot with tech support agents to show any issues you are encountering.
- Show Off Your High Score – Impress your friends with screenshots of your latest high game score.
Screenshots are meant to be shared! Use the robust built-in sharing options on Samsung devices to get your screenshots exactly where you need them.
Common Screenshot Problems and Solutions
While taking screenshots on your Samsung device is usually quick and easy, you may encounter occasional issues. Here are some common problems and fixes:
Screenshots Show up as Black Images
If your screenshots only display black after capturing them, this is likely due to having your phone brightness level set too low. Check the brightness slider in Settings or the notification panel, and turn it up higher before taking screenshots.
Can’t Find or Access Your Screenshots
Accidentally deleted a screenshot or don’t know where to find it? Check the Gallery and Photos apps, as well as cloud services like Google Photos or OneDrive if you have auto-sync enabled. You may be able to recover deleted screenshots from cloud backups or your phone’s trash folder.
Button Combinations Aren’t Working
Make sure to press and hold the Power + Volume buttons firmly and simultaneously for 1-2 seconds. On some Samsung models you may need to press the release keys in order rather than together. Just don’t let go too quickly before the screen has time to capture the screenshot.
Accidentally Taking Too Many Screenshots
To avoid accidental screenshots from gestures or bumping buttons, you can disable or customize the screenshot options in Settings. Turn off Gesture Screenshots or select which buttons you want to enable for capturing screens.
Capturing Screenshots Doesn’t Work In Some Apps
Due to security policies, taking screenshots and recordings may be restricted within banking apps, video streaming services, and some games. There is no workaround for apps that block screenshots at the developer level.
With a little troubleshooting, you should be able to resolve most any screenshot capturing issues that come up on your Samsung mobile devices.
Conclusion
Taking screenshots is an essential skill for any smartphone owner. With this comprehensive guide, you are now a screenshot expert for your Samsung Galaxy phone or tablet!
You can take crystal clear screenshots using the convenient physical buttons, hand gestures, or voice commands via Bixby or Google Assistant.
Some key takeaways:
- Master the Power + Volume Down button method for quick and easy screenshots.
- Set up Google Assistant or Bixby and use voice commands to take hands-free screenshots.
- Enable Palm Gestures in Settings to swipe for screenshots.
- Take scrolling screenshots to capture long web pages or documents.
- Draw on your images or record your screen to create GIFs.
- Share screenshots instantly via text, apps, cloud services, and more.
With all these options, you will never miss another important screen capture again on your Samsung device.
Do you have any other screenshot tips or tricks? Let us know in the comments!