
Unlock the Power of Your Android Camera: 10 Tips to Elevate Your Mobile Photography
In this digital age, our smartphones have become our go-to cameras, capturing precious memories and moments on the go. However, not all Android phone cameras are created equal. If you’re looking to take your mobile photography to the next level, this guide is for you. We’ll cover 10 effective tips to enhance the camera quality on your Android smartphone, so you can snap stunning shots every time.
Can You Change Camera Resolution Settings on Android Phones?
Yes, you can adjust the camera resolution settings on most Android phones. Most Android devices allow you to modify various camera settings, including resolution, HDR, grid lines, and more. Adjusting the resolution can help you capture high-quality images with more detail and clarity.
To change the camera resolution on your Android phone, follow these steps:
- Open your camera app.
- Look for a settings or menu icon (usually represented by three dots or a gear icon).
- Tap on the settings or menu icon.
- Look for an option related to “Resolution” or “Image Size.”
- Select the desired resolution (e.g., 16MP, 12MP, or whatever the highest option is for your device).
Keep in mind that higher resolutions will result in larger file sizes, which can consume more storage space on your phone. It’s essential to find a balance between resolution and file size based on your preferences and storage capacity.
10 Tips to Improve Camera Quality on Android Phones
- Clean Your Camera Lens Regularly
A clean camera lens is essential for capturing clear, crisp images. Over time, dirt, dust, and fingerprints can accumulate on the lens, causing blurry or hazy photos. To keep your camera lens in top condition, follow these steps:
- Use a soft, lint-free microfiber cloth to gently wipe the lens. Avoid using rough materials that could scratch the lens.
- If the lens has stubborn smudges or debris, use a lens cleaning solution designed specifically for camera lenses. Apply a small amount to the microfiber cloth and gently wipe the lens in a circular motion.
- Avoid using household cleaning products like window cleaners or alcohol-based solutions, as they can damage the lens coating.
- Utilize Manual Camera Modes (Pro/Expert Modes)
Most Android phones offer manual camera modes, often labeled as “Pro” or “Expert” modes. These modes give you more control over settings like aperture, shutter speed, and ISO. While these modes may seem daunting at first, mastering them can significantly improve your camera’s capabilities.
- Aperture: Adjust the aperture to control the amount of light entering the camera and the depth of field (the area in focus).
- Shutter speed: Adjust the shutter speed to control the amount of time the camera sensor is exposed to light. Faster shutter speeds can freeze motion, while slower speeds can introduce blur or light trails.
- ISO: Adjust the ISO to control the camera sensor’s sensitivity to light. Higher ISO settings can help capture images in low-light conditions but may introduce more noise or graininess.
- Find Good Lighting Sources
Proper lighting is one of the most crucial factors in capturing great photos. Natural light, particularly during the golden hours (shortly after sunrise or before sunset), can create beautiful, soft lighting that enhances the mood and atmosphere of your shots.
- Utilize natural light: Look for areas with ample natural light, such as near windows or outdoors during the daytime.
- Avoid direct sunlight: Direct, harsh sunlight can create unflattering shadows and overexposed areas. Instead, opt for shaded areas or use a diffuser to soften the light.
- Use reflectors: If you’re shooting indoors or in a shaded area, use a reflector to bounce light onto your subject and fill in shadows.
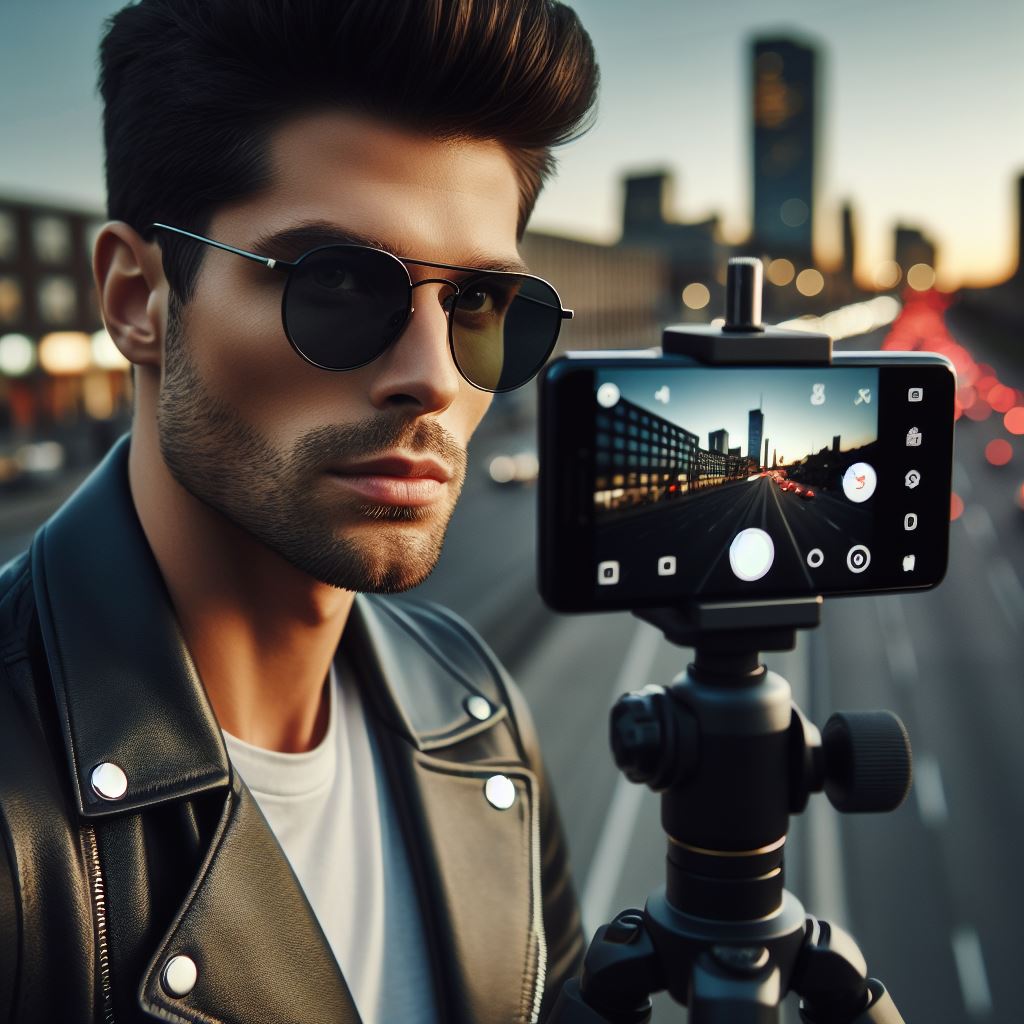
- Keep the Phone Steady While Taking Pictures
Camera shake is a common issue that can result in blurry, out-of-focus images. To minimize camera shake, consider using a tripod or a stabilizer accessory designed for smartphones.
- Tripod: A tripod can keep your phone perfectly still, allowing you to capture sharp, detailed images, even in low-light conditions.
- Stabilizer: If a tripod is too bulky, a stabilizer or grip accessory can help steady your phone while shooting.
Alternatively, you can brace your phone against a stable surface, like a table or wall, to help keep it steady while taking photos.
- Avoid Digital Zooming
Digital zoom, which crops and enlarges a portion of the image, can significantly degrade image quality. Instead of relying on digital zoom, try to physically move closer to your subject whenever possible. If you need to capture distant subjects, consider using an auxiliary telephoto lens designed for smartphones.
- Use Appropriate Camera Lenses
Clip-on auxiliary lenses can expand your creative options and allow you to capture different perspectives. Some popular types of auxiliary lenses include:
- Wide-angle: Captures a broader field of view, ideal for landscapes, architecture, and group shots.
- Macro: Allows you to get extremely close to your subject for detailed close-up shots of small objects or textures.
- Telephoto: Magnifies distant subjects, perfect for capturing wildlife, sports, or other action shots from a distance.
When choosing auxiliary lenses, opt for reputable brands and follow the manufacturer’s instructions for proper use and compatibility with your specific Android device.
- Save Images in RAW Format
Many modern Android phones support capturing images in RAW format, which offers several advantages over the standard JPEG format. RAW files contain more image data and allow for greater flexibility in post-processing and editing.
- Enable RAW capture: Check your camera settings to see if RAW capture is available. If so, enable it to start capturing images in RAW format.
- Edit RAW files: Use a capable photo editing app, like Adobe Lightroom Mobile, to process and edit your RAW files. RAW editors allow you to make adjustments to exposure, white balance, and more without degrading image quality.
- Combine RAW and JPEG: Some cameras offer a “RAW+JPEG” option, which captures both file formats simultaneously, giving you a backup JPEG while still having the flexibility to edit the RAW file later.
- Follow the Rule of Thirds
The Rule of Thirds is a fundamental composition guideline that can help you create visually appealing and balanced images. It suggests dividing your frame into a 3×3 grid and positioning your subject along the gridlines or at their intersection points.
- Enable grid lines: Look for an option in your camera settings to enable grid lines or a grid overlay. This will help you visualize and align your composition.
- Experiment with placement: Try placing your main subject off-center, along one of the gridlines or at an intersection point. This creates a more dynamic and engaging composition.
- Use editing tools: If your camera app doesn’t offer grid lines, you can use photo editing apps to overlay a grid or apply the Rule of Thirds during post-processing.
- Explore HDR Settings
HDR (High Dynamic Range) mode can help capture images with a broader range of highlights and shadows, resulting in more balanced exposures and greater detail in both bright and dark areas.
- Enable automatic HDR: Many Android cameras now offer automatic HDR mode, which intelligently applies HDR processing when needed.
- Shoot HDR manually: If your camera doesn’t have an automatic HDR mode, you can manually enable HDR and capture multiple exposures, which will be combined into a single, balanced image.
- Experiment with HDR: While HDR can be helpful, overdoing it can sometimes result in unrealistic or unnatural-looking images. Practice and adjust the intensity of the HDR effect to find a balance that suits your preferences.
- Experiment with Camera Features
Most Android phones offer a range of unique camera features and modes beyond the standard photo and video options. Explore these features to expand your creative possibilities and capture unique shots.
- Portrait mode: Simulates a shallow depth of field, blurring the background and keeping your subject in sharp focus.
- Night mode: Helps capture better low-light shots by combining multiple exposures and adjusting settings for optimal performance in dark environments.
- Panorama: Allows you to capture wide, sweeping images by stitching together multiple shots as you pan your camera.
- Third-party camera apps: Consider downloading third-party camera apps that offer additional features, manual controls, or specialized modes not found in your stock camera app.
By experimenting with these features and modes, you can discover new ways to capture your unique perspective and create stunning images with your Android device.
Hidden Android Camera Features for Good Quality Pictures
In addition to the primary camera settings and modes, many Android devices offer hidden or lesser-known features that can enhance your photography experience. Here are a few tips and tricks to explore:
- Volume buttons for shutter: Many Android phones allow you to use the volume buttons as a physical shutter button for capturing photos. This can be more convenient than tapping the on-screen shutter button, especially when holding the phone in a certain position.
- Grid lines: Enable grid lines or a grid overlay in your camera settings to help with composition and alignment. The grid can guide you in following the Rule of Thirds or creating symmetrical shots.
- Gesture controls: Some Android cameras support gesture controls, allowing you to take photos or start recording videos with simple hand gestures, like waving or making a fist.
- Tap to focus: Many Android cameras let you tap on the screen to set the focus point and exposure. This can be useful for ensuring your subject is sharp and properly exposed, even if it’s not in the center of the frame.
- Quick launch shortcuts: Explore your device’s settings or manufacturer-specific features for shortcuts that allow you to quickly launch the camera app, even from a locked screen or other apps.
By exploring these hidden features and customizing your camera settings, you can streamline your photography workflow and capture better shots more efficiently.
Best Camera Settings for Android Phones
While camera settings can vary between devices and manufacturers, there are a few general recommendations that can help you capture high-quality images on your Android phone:
- Resolution: Set the resolution to the highest option available for your device, such as 16MP or 12MP, to capture more detail and clarity in your images.
- HDR: Enable automatic HDR mode to capture images with more balanced exposures and greater detail in both bright and dark areas.
- Portrait mode: Use portrait mode for stunning subject-focused shots with a blurred background, simulating a shallow depth of field.
- Exposure and focus modes: Experiment with different exposure and focus modes, like spot metering or tap to focus, to ensure your subject is properly exposed and in sharp focus.
- Grid lines: Enable grid lines or a grid overlay to help with composition and alignment, following principles like the Rule of Thirds.
- Manual settings: For more control, utilize manual camera modes (Pro/Expert) to adjust settings like aperture, shutter speed, and ISO, and capture images that match your creative vision.
It’s also important to remember that the best camera settings may vary depending on the specific shooting situation. Don’t be afraid to experiment and adjust settings to find what works best for your photographic style and the environment you’re shooting in.
Conclusion
By following these 10 effective tips and exploring the various camera settings and modes on your Android smartphone, you’ll be able to take your mobile photography to new heights. Remember, practice makes perfect, so keep experimenting and exploring the capabilities of your phone’s camera. With a little effort and dedication, you can transform your Android device into a powerful tool for capturing stunning photos and videos.
Keep these key points in mind as you embark on your mobile photography journey:
- Clean your camera lens regularly for clear, crisp shots.
- Utilize manual modes to gain more control over exposure and focus.
- Find good lighting sources, like natural light, to enhance your images.
- Keep your phone steady, using tripods or stabilizers if necessary.
- Avoid digital zoom and consider auxiliary lenses for different perspectives.
- Explore options like RAW format for more editing flexibility.
- Follow composition guidelines like the Rule of Thirds.
- Enable HDR mode to capture more balanced exposures.
- Experiment with unique camera features like portrait mode, night mode, and panorama.
- Customize your camera settings to find the best combination for your shooting style.
Most importantly, have fun with your Android camera and enjoy the process of capturing and creating beautiful images. With practice and dedication, you’ll be amazed at the stunning results you can achieve with your smartphone’s camera.