
How to Fix iPhone Stuck in SOS Only Mode – A Complete Guide
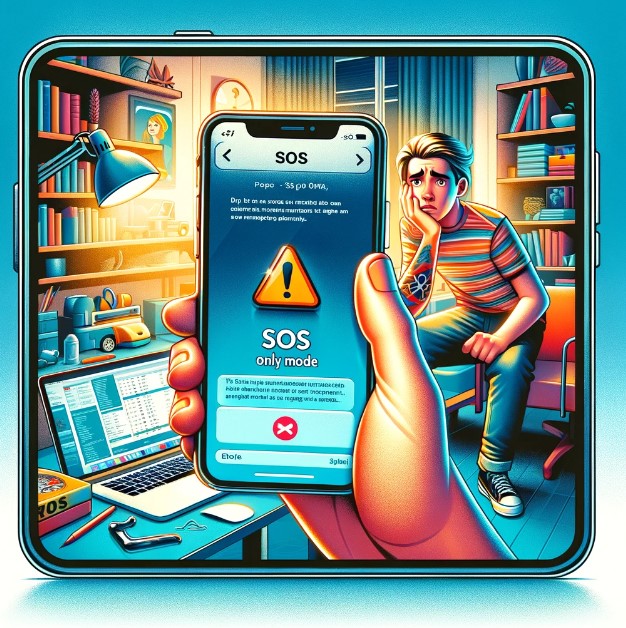
Have you ever seen an “SOS Only” message flash across the top bar of your iPhone’s screen? This concerning error message restricts your device’s ability to make calls, use cellular data, send texts, and access other key network services.
When your iPhone gets stuck in SOS Only mode, it loses widespread connectivity, keeping only the ability to connect to emergency services. Hence the foreboding name – SOS Only.
This frustrating issue stems from disruptions in cellular network connectivity between your iPhone hardware and your cell provider’s towers. A wide variety of triggers can suddenly downgrade your full-service cell connection to one that only enables emergency calls.
Thankfully, SOS Only errors can often be fixed with a few targeted troubleshooting steps to restore that all-important network link between your phone and carrier.
In this comprehensive guide, we’ll cover:
- What exactly SOS Only means on your iPhone
- The impacts of losing broader cellular connectivity
- Reasons the error occurs in the first place
- 10 ways to troubleshoot and resolve the SOS Only error
- Preventative steps you can take to avoid issues in the future
By the end, you’ll be equipped with deeper knowledge to get your iPhone fully functional again after seeing the dreaded SOS Only message pop up. Let’s get started!
Defining iPhone SOS Only Mode
The SOS Only condition essentially means your iPhone has extremely limited cellular connectivity. This restricts you from being able to:
- Make or receive phone calls over the cellular network
- Send/receive text messages
- Access the internet on a cellular data connection
- Use location services that depend on cell network triangulation
- Stream music/video over the cellular network
- Update apps requiring an internet connection
- Get weather or traffic alerts
Essentially your iPhone loses the entirety of its smooth-operating wireless connectivity, which the modern digital world typically relies on smartphones to provide.
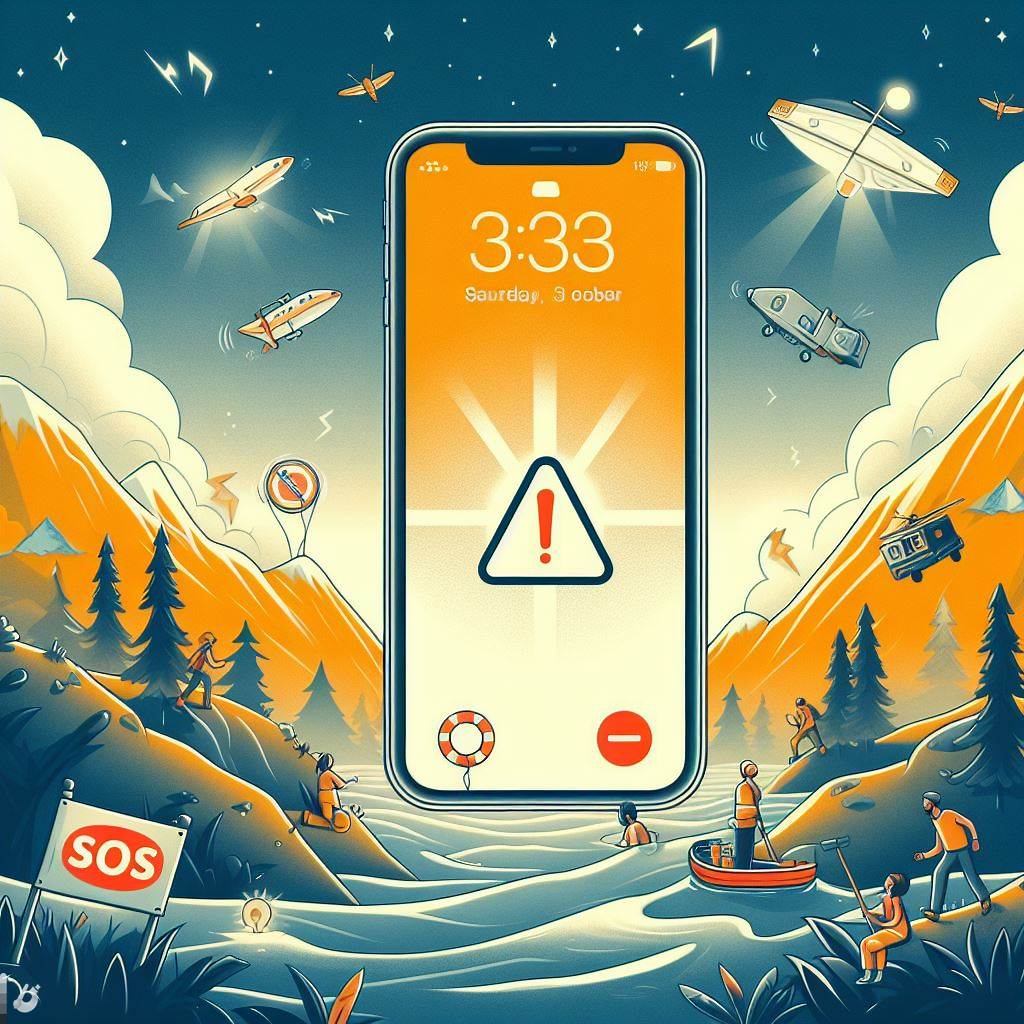
The only network capability that remains accessible in SOS Only mode is the ability to connect with emergency services personnel, such as calling 911. This allows the vital Emergency SOS feature to still function on an iPhone, hence the name of this dreaded mode – “SOS Only.”
Emergency SOS Availability
The small silver lining when an iPhone enters SOS Only mode is that emergency calling capability persists. This allows someone to still dial 911, emergency services, or other preset emergency contacts even with no bars or cellular connection displaying in the status bar.

You can test and confirm this by going to Settings > Emergency SOS and toggling the “Call with Hold” option to enabled. This will also give you confidence ahead of time that Emergency SOS capacities remain intact if your iPhone ever gets stuck with the SOS Only condition preventing normal use.
So in summary – SOS Only mode leaves you without any typical mobile device functionality other than retaining emergency call access and features. That ensures you can still reach first responders if needed, but cuts you off from the wider utility of a smartphone until cellular connectivity returns.
What exactly causes this frustrating iPhone error, and how do you start fixing it? Let’s explore that next.
Common Triggers Behind iPhone SOS Only Error
There are a few prevalent issues that tend to suddenly trigger an iPhone displaying that dreaded SOS Only mode message:
1. Moving Outside Carrier Coverage Area
One of the most common triggers is when you physically move or travel outside your cellular carrier’s coverage zone. If you drive out of your city into a remote rural location, fly to another country without international roaming set up, take a cruise ship voyage, or visit somewhere with known poor carrier presence – you may lose the cell tower link. Without picking up any tower signal, the iPhone cannot maintain normal mobile connectivity and downgrades to the bare-bones SOS Only connection.
2. Experiencing Weak Cellular Network Signals
You don’t have to leave your carrier’s territory to end up with device connectivity issues. In practice, even within a stated coverage region you’ll encounter pockets with poor, weak cellular signal strength.
Maybe your home lies in a valley between towers. Perhaps certain buildings in downtown areas obstruct signals. Congested stadium events or emergency situations overload available cellular capacity. Even things like storms, interference from other electronics, and solar flares influence signal viability.
The common thread is that anything disrupting that key network link between your iPhone and closest cell tower can throttle down connectivity. Without robust signal strength, you’ll lose the ability for stable voice calls, data speeds will slow to a crawl, streaming won’t buffer, and apps can’t refresh properly.
Left with partially connected service and a minimally viable link, your iPhone automatically enters emergency calling only mode – hence SOS Only activating.
3. Using an Old iPhone Model
Cellular network technology continually evolves each year with new protocols, reception improvements, voice codecs, and expanded capabilities. As Apple releases their latest iPhone annually with updated modem hardware, at some point legacy iPhone models lag behind most recent innovations implemented by carriers.
Despite official phone support lifetimes suggesting otherwise, the practical mobile experience many users encounter is older generation iPhones one day simply showing SOS Only errors and failing to maintain modern network connections.
In a way, the SOS Only error serves as an indicator flushed up by the iPhone OS that your particular hardware has aged past full compatibility. Typically upgrading to a newer device will permanently fix this, where buying the latest iPhone model fresh on the market avoids aging cellular issues.
4. Allowing Cellular Plan Service to Lapse
Lastly, you may suddenly see SOS Only display if your monthly cellular service plan expires or gets suspended due to non-payment. This account disruption halts the signals allowing full network registration and access until reactivated.
Since proper registration requires both a functioning iPhone and live service plan, any account-related issue can downgrade connectivity. Without access permissions from the carrier, network capabilities default to limiting emergency calling only as a safety precaution.
Impacts of iPhone Trapped in SOS Only
Being stuck in SOS Only mode certainly disrupts typical iPhone use cases, some with serious negatives if the condition persists indefinitely. Let’s examine some notable connectivity impacts:

Voice Calling & Text Messaging Disabled
The most obvious day-to-day annoyance is losing the ability to make or receive any normal voice calls or text messages. Since even VoLTE and VoWiFi calling requires a data connection to transmit sound, SOS Only cuts off all capacities here.
No Cellular Data Access
With data access severed, everything we take for granted relying on mobile data networks suddenly halts. Expect to see those frustrating exclamation marks on app icons signaling connectivity got cut.
Streaming apps like YouTube, Spotify, Netflix, and Apple Music will warn they cannot play without an internet connection. Social media apps, web access, email, and messaging services all fail to send or receive new messages without data access.
Compatibility issues can even prevent you from browsing saved offline content within apps since validating licenses often requires occasional network check-ins. Until cellular service gets restored, you lose access to these modern conveniences we’ve come to rely on cell networks to provide.
Location Accuracy & Mapping Limited
Mapping apps, weather forecasts, local search, and other location-based services will degrade in accuracy without access to cellular data constantly enhancing your GPS precision.
Maps may struggle to pinpoint your exact street location, weather apps can’t give hyperlocal forecasts, and anything relying on network location pings suffers. This extends to family sharing location tracking, direction accuracy, and geotagged photos capturing the wrong coordinates.
Again, limited fallback to GPS satellite positioning remains, but lacks the precision connectivity normally brings.
No IoT Connectivity
With no cellular service, any external smart devices relying on your iPhone connection as a conduit to control them go dark. Think smart home devices (locks, lights, thermostats), wearables only able to transmit via the iPhone’s link, in-car mapping/music/hands-free systems, and other IoT gadgets.
Cut off from their backbone connectivity pathway, these devices won’t be able to phone home until service gets restored. For the tech-connected among us marshaling dozens of devices, losing that centralized mobile tethering ability severely limits functionality.
As you can see, while SOS Only mode intelligently keeps emergency calling available as a contingency, losing those creature comforts and conveniences we expect uninterrupted cell network connectivity to provide certainly feels jarring.
Let’s now dive into the step-by-step troubleshooting methods that typically resolve this frustrating issue, restoring full connectivity when your iPhone falls into SOS Only mode.
12 Troubleshooting Tips to Fix iPhone SOS Only
Below we’ll outline actionable steps you can take to remedy an iPhone stuck displaying SOS Only instead of welcoming solid cellular connectivity:
1. Check Account Status for Disconnections
As a quick first step after seeing SOS Only appear – log into your carrier account dashboard online or via their mobile app to check billing status. Scan for any notifications related to service changes, recent suspensions, or other disruptions tied to your payment method or plan terms.
Catching an accidental service cancellation or expired credit card here can save you lots of disconnect-related troubleshooting down the line. Resolve these account issues first before tackling device connectivity resets.
2. Enable Roaming to Expand Coverage Reach
Double check that cellular data/voice roaming options are enabled on your iPhone. Dig into Settings > Cellular > Cellular Data Options > Enable LTE/4G Data Roaming and Enable 3G Data Roaming for best results. You can also allow voice roaming and international roaming here if traveling globally.
Having roaming capabilities switched on gives your iPhone flexibility to connect with alternate cellular carriers nearby if your own provider’s towers remain stubbornly out of reach. This helps regain coverage when aggravating SOS Only errors strike while on the go.
3. Toggle Airplane Mode On and Off
A simple connectivity reset is to flip Airplane Mode on via your iPhone’s settings, count to 30 seconds without network connectivity, then toggle Airplane Mode back off. This forces a fresh registration onto nearby cell towers just like rebooting a wonky home wifi router.
Sometimes all it takes is this power cycle style reset to pull your iPhone out of a hung SOS Only state and successfully renegotiate connections from scratch. Quick and easy to try with no downsides!
4. Force Restart Your iPhone
If Airplane Mode flip-flopping doesn’t cut it, try force restarting your iPhone next. This hardware-level reboot often clears up cellular connectivity glitches that can mistakenly trigger SOS Only errors.
To force restart, press and quickly release the Volume Up button, press and quickly release the Volume Down button, then hold down the Side/Power button until the Apple logo appears onscreen. This refreshes all network access logic without fully resetting the device.
5. Remove and Reinsert SIM Card
As the most literal physical connectivity piece between your iPhone and cell towers, gently removing and reinserting the SIM card can solve faulty network registrations.
First carefully eject the SIM tray using a paperclip or SIM tool. Leave the SIM fully removed for 60 seconds before gently replacing it in the proper orientation and closing the tray. This gives time for network component power cycles to reset.
Finish by rebooting your iPhone and watch signal bars populate as normal mobile service comes back online!
6. Switch Cellular Bands Manually
Today’s carrier networks utilize a variety of voice/data bands as their own optimized mix of 3G, 4G LTE, and 5G coverage. The automatic network selection mode on iPhones works well generally, but you can manually override band and tower preferences to encourage a strong signal.
Dig into Settings > Cellular > Cellular Data Options on your iPhone. Turn off Enable LTE, Disable 3G, and try forcing 4G only mode for example. Cycling between the various network bands essentially runs signal tests until you lock onto the sweet spot for your location at that moment.
Adding manual user tweaking to the iPhone’s automatic switching between bands can surface stable connectivity when automations get stuck failing to pull you out of SOS Only quicksand.
7. Update Carrier Settings
Cell towers rely on two sets of settings – some controlling the hardware itself set by cell providers, and others managing device connectivity stored on your iPhone. Carriers periodically update their proprietary configurations that optimize network interoperability, which your device needs refreshed.
Check for pending carrier setting updates by going to Settings > General > About and tap “Carrier” until prompted. Let the update install to get the latest compatible tower protocols that help alleviate SOS Only issues. Consider adding automatic carrier updates for set-it-and-forget-it connectivity.
8. Reset Network Settings
If all else fails despite best troubleshooting efforts, resetting all network settings is the ultimate connectivity refresh available before factory resetting your iPhone.
Find the reset option under Settings > General > Reset > Reset Network Settings and confirm when prompted. This wipes all network preferences, passwords, registrations, bands, and other cellular settings to defaults. It essentially forces a clean slate registration getting your SOS Only-plagued device communicating afresh.
The only downside is needing to rejoin previously connected WiFi networks afterwards with passwords reentered. A fair price to pay though for banishing buggy network settings likely causing lingering SOS Only grief!
9. Update to Latest iOS Version
Behind the scenes, Apple dishes out iOS updates addressing cellular connectivity glitches among other bug fixes and performance tweaks. Installing the latest iOS software can remedy SOS Only Gremlins that crept into previous versions or carrier profiles.
Navigate to Settings > General > Software Update and install any pending downloads available. Staying up to date on iOS often fixes obscure iPhone errors before they have a chance to aggravate users. Don’t leave lingering updates sitting there if you want optimal cell service!
10. Unrestrict VPN or Content Filtering
Some advanced iPhone users opt to run VPN clients or enable restrictions/content filtering that routes device connectivity through external management services. As useful as these tools can prove for security, anonymity, and parental controls – they can also interfere with direct iPhone access to cell networks.
Dig into Settings, toggle off any enabled VPN apps or restrictions to temporarily lift barriers between your iPhone cell radio and nearby towers. Essentially eliminate any middleman meddling and see if unfiltered connectivity alone clears up pesky SOS Only status bars for good.
11. Contact Carrier Support for Advanced Troubleshooting
If all standard user-guided troubleshooting suggested above goes for naught, reaching out to customer support of your cell phone carrier opens professional help. Equipment and networking experts there can initiate advanced diagnostics and network testing from their end, plus may offer iPhone replacement if hardware defects manifest.
Depending on your account status and plan investments, carriers may credit your account for disruptions while working tirelessly to identify why reliable cell service suddenly turned so sour with SOS Only rearing its head at such inopportune times!
12. Consider iPhone Hardware Swap/Replacement
Despite best efforts across software fixes, network resets, account investigations, and configuration tweaks – some instances of SOS Only persistence indicate antenna component faults or mainboard issues on iPhones themselves. Call quality fading in and out preceding SOS Only errors reinforces this likelihood.
In these hardware defect cases, swapping in known-good replacement iPhones quickly confirms the root cause. If an Apple Store Genius Bar is nearby, snagging a loaner device to test against your number and SIM card easily isolates whether iPhone hardware defects trigger the connectivity failures.
Assuming all else already got ruled out with extensive troubleshooting, suddenly having rock solid cell bars on a different iPhone unit confirms your original device needs retired and replaced. Restore your latest iCloud backup to the new iPhone and bid frustrating SOS Only woes adieu!
Prevent Future SOS Only Error Occurrences
Beyond quickly troubleshooting and fixing SOS Only errors when they strike, you can also take a few proactive precautions going forward to avoid repeat incidents:
Always Keep iPhone Software Updated
As mentioned throughout this guide, Apple issues routine iOS updates packed with bug fixes that prevent pesky errors like SOS Only from ruining your mobile experience. Don’t ignore those update notifications or device lag will creep in!
Stay diligent about keeping your iPhone updated to the latest iOS version available for that model. Head to Settings > General > Software Update periodically and install any pending downloads. This futureproofs your stability and performance to avoid cellular connectivity issues.
Monitor Cell Signal Status Carefully
Also pay attention to your everyday cellular signal strength as you move between locations. Take mental note if certain areas of your routine travels consistently show only 1 bar of coverage or super slow data, then plan accordingly.
Avoid important calls or mobile hotspot tethering needs when entering elevators, basements, massive event venues, etc based on prior experience. Proactively toggling Airplane mode to renegotiate fresh signal timing windows in shady reception zones can dodge frustrations.
Utilize Wi-Fi Calling When Available
As carriers enhance connectivity options, many now support Wi-Fi Calling that routes calls/texts over nearby wireless internet connections instead of relying solely on cell towers. This augments coverage gaps beautifully.
Check if your carrier supports the feature under iPhone Cellular settings, then enable Wi-Fi Calling toggles. Give permission as well to transition between cell and Wi-Fi calls automatically. Doing so may help you avoid call failures or SOS Only scenarios where cellular signals fade but Wi-Fi still flows reliably nearby.
Carefully Select Cell Providers Based on Coverage Maps
Not all mobile coverage proves equal. When deciding between cell carrier options where you live/work/play, scrutinize spatial coverage maps closely before committing long term. Some networks simply invest more in blanketing key areas with strong overlapping cell towers than others.
Figure out if certain carriers earn better reputations than competitors where exactly you need reliable daily service. The last thing you want is committing to a 2 year contract with the cheapest monthly rates, only to end up constantly battling SOS Only connectivity struggles. Pay a bit more upfront for networks with robust presence in your personal hotspots.
Additional Troubleshooting Tips for Persistent iPhone SOS Only Errors

In some rarer cases, the SOS Only error plaguing an iPhone may keep returning repeatedly even after trying all standard troubleshooting steps covered earlier.
This points to either obscure software bugs Apple has yet to quash in a future iOS update, or more likely – sporadic network factors outside user control wreaking havoc.
Before fully blaming carriers for faults beyond an individual’s ability to resolve, here are a few more in-depth troubleshooting items to eliminate first:
Update Network Settings Separately From iOS
Rather than wiping all network settings via a full factory reset when nothing else works, try updating just the cellular settings stack as an incremental step.
Navigate to Settings > General > About and tap the Carrier option until prompted to update. This refreshes the network component of iOS without disturbing your personal content and app configuration. See if fresh cellular settings alone fix the issue without heavy resets required.
Unpair Bluetooth & Wifi Calling Devices
Synchronized devices relying on iPhone connectivity can confusingly muddle signals at times. Powering down Bluetooth, WiFi Calling accessories, hearing aids, watches, vehicles, and other linked gadgets prevents them from interfering as you diagnose cell service.
Once cellular signals show strong again while unpaired, selectively reconnect external devices one by one. If SOS Only reappears after pairing a particular device back, you’ve identified the interference culprit!
Contact Cell Provider Technical Support
Don’t hesitate reaching out to your cell provider’s tech support channels for advanced troubleshooting beyond standard customer service. Explain you already self-diagnosed extensively without resolving iPhone SOS Only errors.
Technical support can monitor detailed network logs in real-time, identify tower maintenance in your area, and potentially push custom profile updates specifically for your device remotely to repair glitches.
Disable 5G Service Temporarily
The bleeding edge 5G NR standard uses super high frequency radio waves more susceptible to obstacles and interference. Yet early 5G rollout coverage still proves limited.
That mismatch means iPhones may latch onto spotty 5G signals in fringe areas when disabling 5G and falling back to mature 4G LTE connectivity could provide way more stable service.
Navigate to Settings > Cellular > Cellular Data Options > Voice & Data and select LTE. Monitor if disabling non-essential 5G connectivity prevents SOS Only frustration until carriers expand mid-band coverage.
Escalate to an Apple Store Genius Bar Appointment
When all self-help tips get exhausted to no avail, setting up an appointment with customer service experts at the Genius Bar located in any Apple Store retail location opens professional troubleshooting.
Come armed with notes about all the steps already attempted without resolving the SOS Only condition. iPhone technicians can initiate deep cellular network testing using internal tools plus examine device logs.
In some cases replacing an iPhone or SIM card solves persistently spotty connectivity if hardware defects prove the root cause.
Request a Carrier Cell Tower Network Ticket
If Genius techs clear your iPhone hardware as functioning properly, the last resort is having them escalate an investigation back to your cell provider. Outline the full scope of frustrating SOS Only errors tied explicitly to times/dates/locations with corresponding account info like phone numbers and possible tower IDs logged.
Carriers can open network tickets to monitor and diagnose towers regularly dropping connections that manifest as SOS Only errors. Severe issues prompt radio frequency engineering teams to optimize local tower hardware and mitigate glitchy service affecting customers.
While a heavy lift compared to quick home troubleshooting steps, this carrier network ticket process helps rule out or pinpoint tower malfunctions beyond end user control. Few other options exist checking all boxes to fix stubborn SOS Only persistence beyond that.
Key Takeaways: Resolving SOS Only Frustrations
To wrap up this deep dive on remedying iPhone SOS Only connectivity issues, below are some key summary takeaways:
- SOS Only modes limit iPhones to only emergency calling abilities when cellular signals fade
- Troubleshoot mobile connectivity issues sooner than later when this error appears
- Toggle Airplane mode and reboot your iPhone as first quick fixes to attempt
- Check account status, reset network settings, update iOS software, and disable restrictions
- Contact carrier support for further troubleshooting if problems persist
- Consider iPhone hardware replacement if all else fails to determine if defects cause the error
Armed with those troubleshooting best practices, you now have a detailed roadmap to follow recovering normal iPhone cellular connectivity when that dreaded SOS Only display puts functionality into limited mode.
Quickly running through these suggested fixes when network issues strike maximizes uptimes so you can leave frustrating connectivity disruptions behind for good. Most cases of phones stuck in SOS Only modes simply need a few nudges and toggles for bars and access to start flowing freely again.
Here’s hoping none of those SOS Only scenarios bite, but at least now you’re prepared! Let us know if this guide helped you revive a struggling iPhone back from the connectivity dead.